


Want To See Animals? Get A Game Camera
And how to set one up in your backyard for the best results

None of these images is going to win a wildlife photography award. Every single one of them is of an animal we wouldn’t have seen otherwise, or of which we’ve only caught fleeting glimpses. A simple, cheap motion-sensor game camera is the best way to see the animals that visit the places where you live or spend time outdoors. Not bad for a device that can cost under $100.
And while game cameras are typically marketed to hunters, I think they’re just as applicable to casual animal enthusiasts too.
I first started using the cameras about seven years ago. Virginia and I would find moose poop in the yard at the cabin, spot the occasional black bear, and regularly found grizzly tracks. But while we knew there were plenty of animals in the area (the cabin is a few miles from Many Glacier), we had no idea how many there were, when they liked to visit, or obviously what they looked like.
So, I picked up what, at the time, was a fairly new type of gadget—a cellular game camera—which I think cost something like $600. That was pricey enough that I could only get one, especially not knowing whether or not it would be able to find any signal from the only cell tower in the area, which is located across the border in Canada.
Lacking any meaningful experience with the things, I just set it up in the driveway facing a big loop we turn cars around in, and hoped for the best. Almost immediately it started capturing mountain lions, moose, bears, foxes, deer, and even the occasional human trespasser. So I started adding more cameras, moving them around, and captured more things as a result. At last count, I had seven cameras on that property, and am in the process of adding seven more to a friend’s new hunting property in another part of Montana. And in that process, I think I’ve gotten pretty good at capturing animals. Here’s what I’ve learned.

This camera is set up on a tree, facing across an ~80 yard-wide meadow on a shoulder below a much taller peak. I’d observed animals using the meadow to move between a creek valley on one side and a swamp on the other. It’s proven a good general area, but the camera is only capturing images of animals that walk within about 15 yards. I plan to relocate it to a natural pinch point a little higher up that slope, which should result in more frequent photos.
Why Use A Game Camera?
Versus trying to photograph animals yourself, a game camera has the following advantages:
Much lower cost.
Persistent presence.
Doesn’t disturb wildlife.
Can employ multiple cameras at once.
More photos, more frequently.

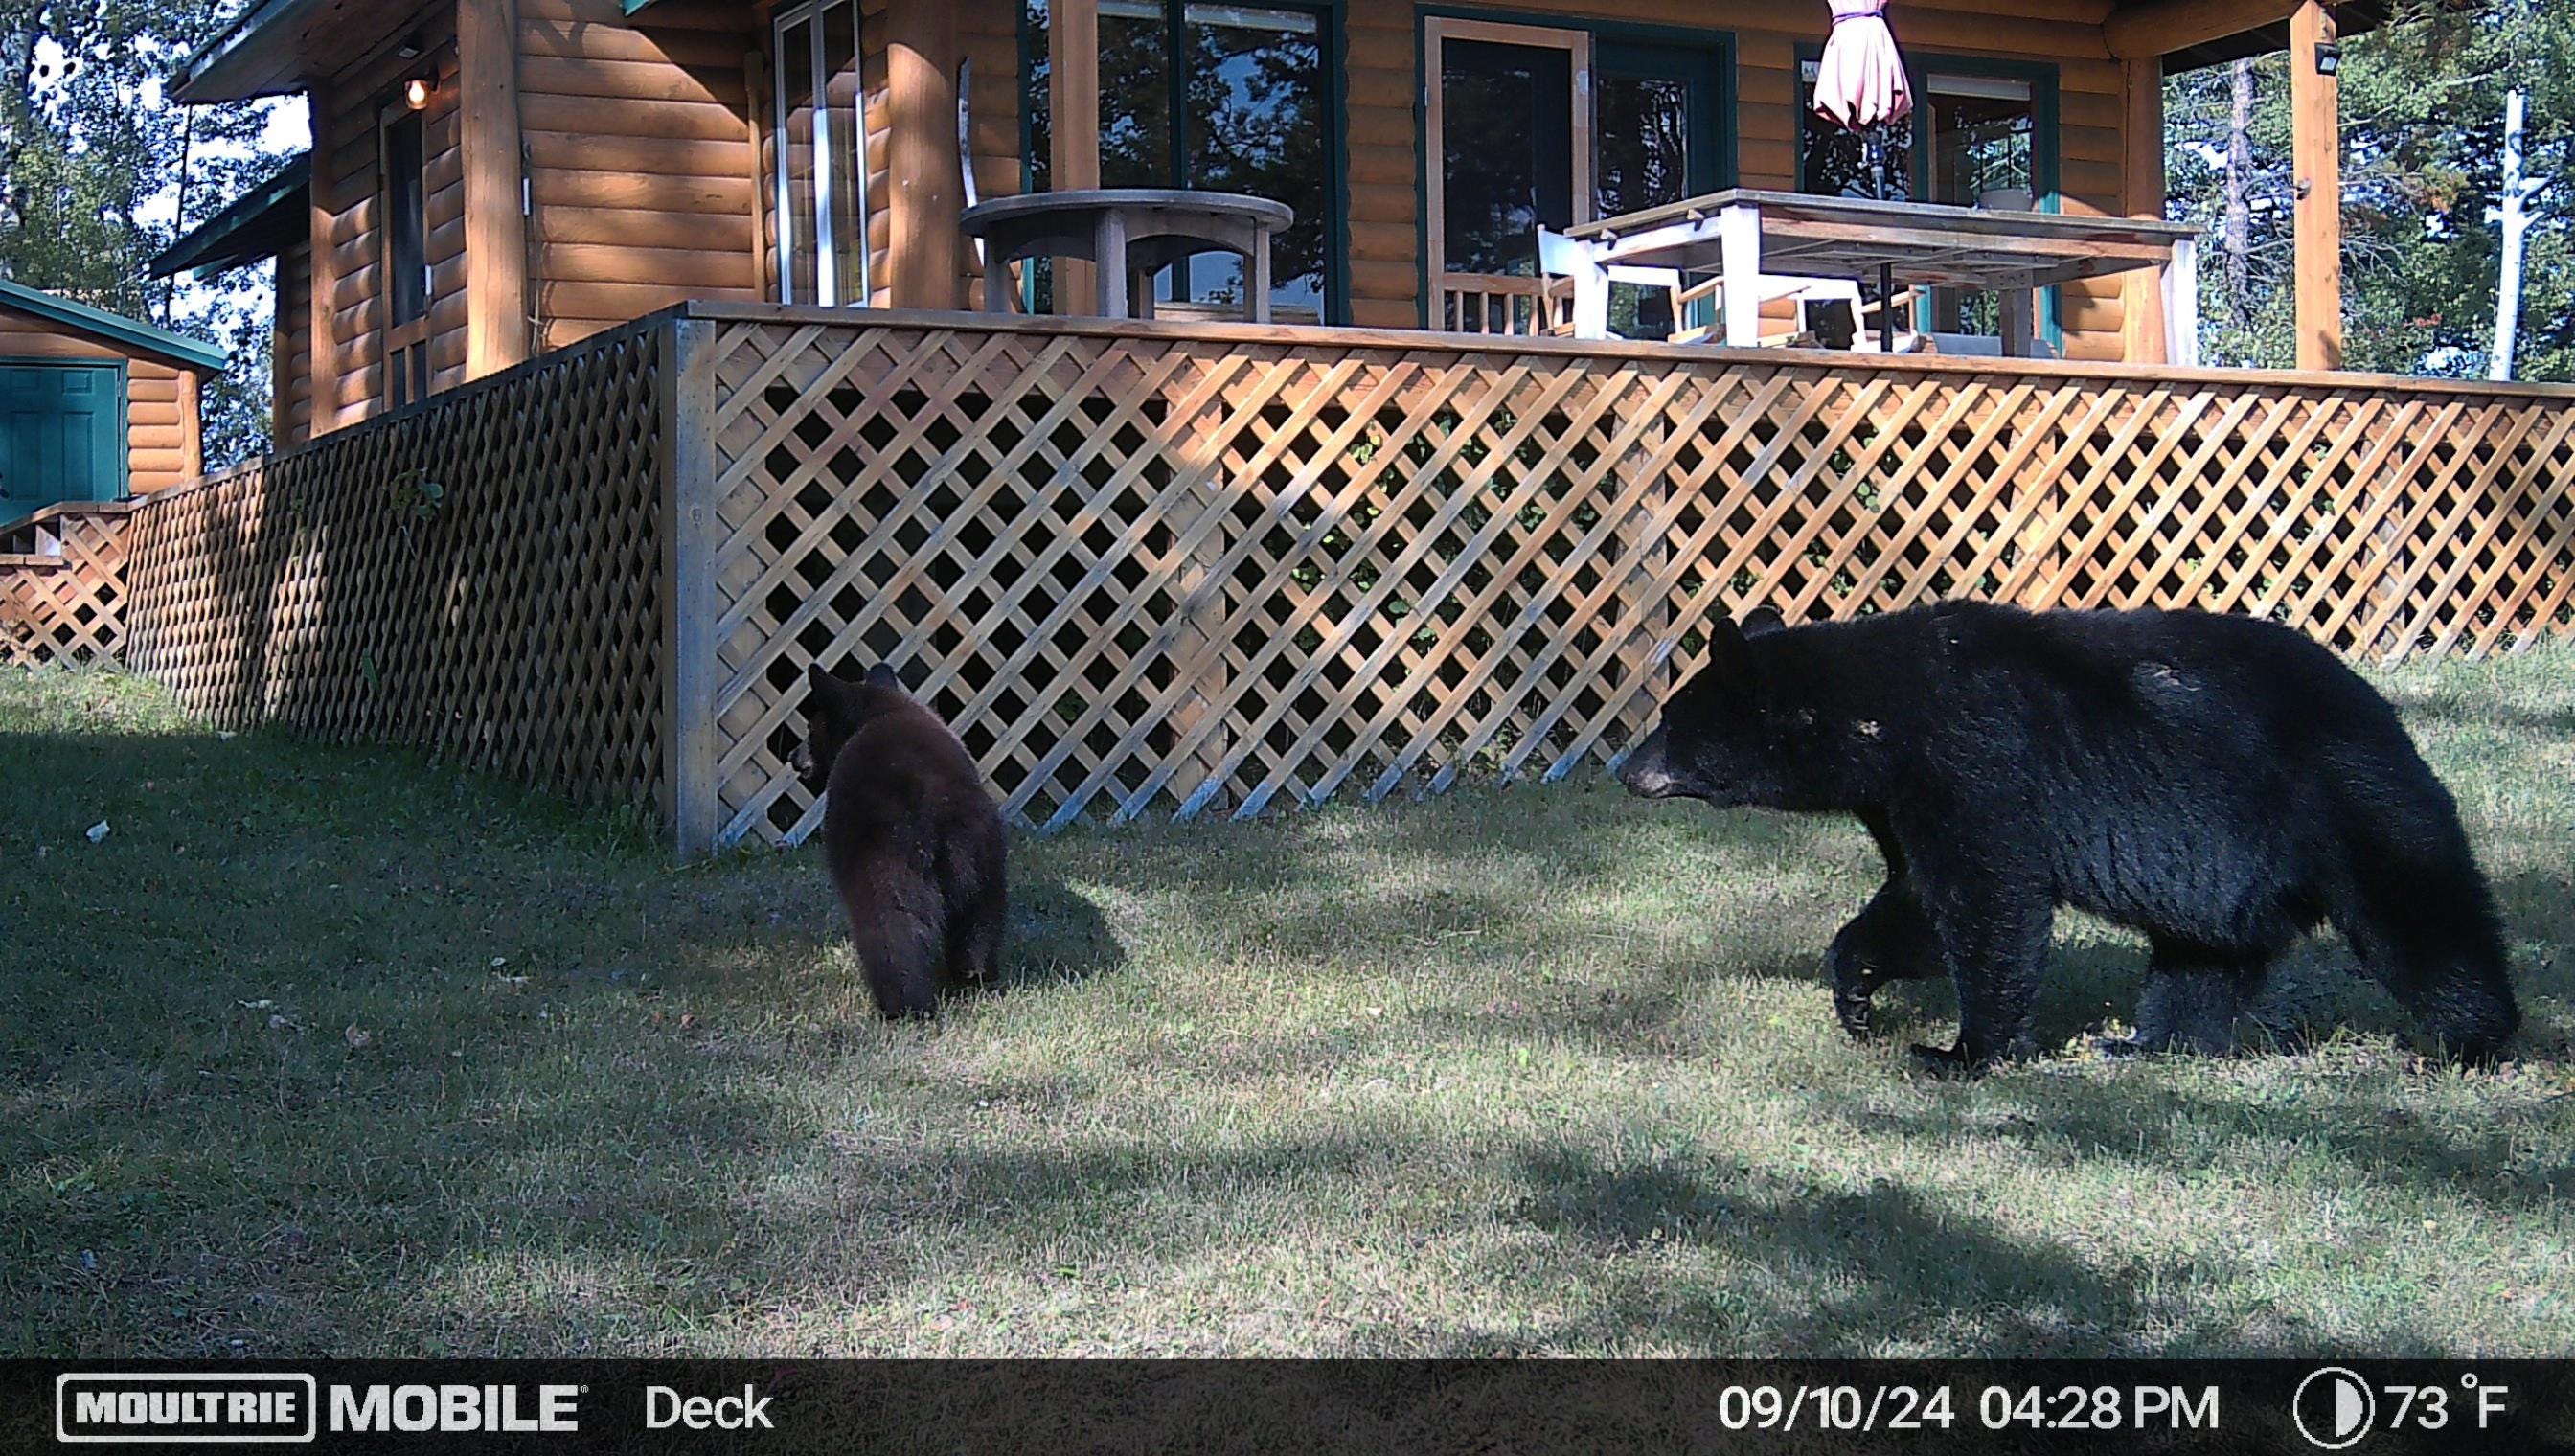
This camera is mounted to a pine tree at the edge of some dense brush, with the area of yard between it and the deck forming a funnel for animals moving down the slope to the lake (behind and to the right of the image). That’s proven one of my best setups of capturing all manner of wildlife moving through the cabin property.
What Type Of Game Camera Should You Buy?
I’m going to suggest you go with a cellular camera. Prices have come down dramatically in recent years, and having images pushed instantaneously to your phone is a major advantage, no matter if you’re using the cameras just to enjoy wildlife, or if you’re also taking advantage of the security they provide.
That security is another advantage to game cameras in general. Even just talking about animals here, they give me an idea of what type may be around at a given time of the year, or if one is active in the area currently. They also help me develop patterns around animal movements, timing, etc. Basically, my odds of opening the cabin door at night to find a moose, lion, or bear standing right outside are much lower thanks to these cameras.
I’m currently using two different types of cameras: the Moultrie Edge 2 ($99), and Tactacam Reveal X 3.0 ($125). Because each pushes images to a dedicated app, I use only a single brand of cameras on each property, just to simplify management.
With their large external antenna, the Tactacams probably have a slight advantage in making the most of cell reception in areas where that’s limited (I get no reception at all on my phone where they’re set up). But both work across a variety of networks, simply connecting automatically to whatever’s strongest in a given area. Both take great photos, with the Moultrie programming producing more images, and the Tactacams creating fewer false positives. They’re both easy to set up, both have year-long battery life, and they’re both simple and intuitive to use. Go with Moultrie if the $25 savings make the scale of purchasing multiple cameras easier. Go with Tactacam if you’re worried about the strength or presence of cell signal in your location. That company also makes an extended range antenna that you can mount six-feet higher up a tree for an additional $25.
The cellular data plans for both are $12.99 per-month, per-camera for unlimited photos.
Can you get higher quality images, and more features by spending more money? Of course, but I haven’t found the “Pro” versions of these models to offer enough advantages to justify their premiums. I’d rather have more cameras than better cameras.

A steep slope falls off the edge of the driveway just ahead of where this camera is mounted. So, I got out a ladder and installed it about 12 feet up the trunk, which puts it about six feet above the level of the driveway, pointed down towards that at about 10 degrees. The driveway passes the camera at a diagonal, holding animals moving along it in the frame for longer. With brush keeping animals to the driveway itself, this is an ideal setup, nothing gets past without getting its photo taken.
How To Locate A Game Camera For The Best Photos
Now obviously the idea is to set the cameras up where animals are active. But starting fresh, it can be hard to figure out the best spots. Here’s some quick guidance.
If you can find tracks, poop, snagged hair or similar, start there. When in doubt go outside after overnight snow or rain, and look around for sign.
Look for funnels and pinch points. Buildings count too!
Look for game trails. Animals tend to take the paths of least resistance and are repetitive in their patterns. Gaps in brush, areas along the forest floor that are brushed free of leaves, or bent twigs and leaves are all signs that animals are passing through that area. Don’t forget that animals have a lot smaller “footprint” on the environment than us humans do. A trail through brush that I’ve seen a 500 pound grizzly use multiple times looks no bigger than one created by my dogs.
Animals use human routes too, since they tend to be the path of least resistance. Look for sign along or across hiking trails and dirt roads, and especially on disused trails or old roads.
Animals need shelter, food, and water. They tend to bed higher than resources, and move down to food and water sources under cover of darkness.
In hilly or mountainous terrain, animals travel across shoulders and saddles. The lowest point in a saddle, especially one with a pinch point created by brush, fallen trees, or rocks, is a great place to start finding sign.
Once you have an idea of where animals may be active, you’ll want to place a camera in the right place to capture them.
Most instructions say to place a camera between 12 inches and five feet above the ground. While this is a good place to start, you can do better.
The natural world doesn’t tend to be perfectly flat. A tree may grow on a mound, with a trail along an adjacent depression. Think about the photo frame more than the camera location.
While detection ranges may be 100 feet, that’s for the largest objects (like trucks) only. The smaller the animal, the closer it needs to be to trigger the shutter.
A trail that runs directly across the camera frame will minimize the amount of time the animal is in frame, lowering the odds of both outright detection, and those for a good photo. Instead look for an opportunity to capture a frame where the animal moves diagonally across the photo, or directly towards or away from it.
You can use sticks to alter the angle at which a camera sits to a tree trunk. Trees don’t end up being as straight in the real world as they seem like they should.
Mounting a camera above head height, angled down, seems to produce the most consistent results. The higher a camera is, the less likely it is to be either detected or removed by a human. But while the additional height might capture a wider swath of the ground, the range of detection will grow narrower.
My most consistent results are with cameras pointed at a trail or pinch point five to 15 yards away or across, at either waist height, or above head height and angled down to put the movement path dead center.
Trim brush and branches in the field of view to stop their movement from triggering the shutter, and to provide clear photos.
Remember: a camera’s location and angle aren’t fixed! Use trial and error to start capturing images, then keep making adjustments until you have the animals dialed in.
For the most effective coverage of a property you’ll need multiple cameras. At the cabin, I’ve adopted an approach I’ve been annoying other people with by calling it “overlapping fields of fire.” Through trial and error, I’ve developed a good sense of where animals are entering and exiting, and what paths they use to get between those points. I then set cameras up at multiple locations along those routes, oriented towards those movement paths at different angles, and am often rewarded with photos of critters walking down the driveway, across the yard, past the deck, and down to the lake.

Behind this camera is a clear game trail that goes down to the lake, with a bunch of aspen saplings restricting access on either side. Animals use this patch of yard to move between higher elevations and that lake, and tend to walk towards the camera when they do so.
Are Game Cameras Legal And Ethical?
If you’re on private land, you can generally use cameras freely. If you want to set one up on public land, there may be restrictions, especially if it could reasonably be argued you’re using one to hunt. Consult your state’s guidelines around hunting methods, and also look up regulations from the land management agency responsible for your area. I’d go so far as to look up those for a specific state or national forest, or similar. It’s your responsibility to stay legal.
Beyond legalities, there’s the question of ethics. And yes, these apply even away from hunting.
Never use bait. This includes food sources (to which an animal could become habituated) scents, and sounds. Patience will tech you a lot more about animals than a pile of donuts ever will.
Keep the location of your cameras private when sharing photos on social media. People can put the leg work into finding animals themselves, especially during hunting season.
Don’t tamper with other people’s cameras. A smile and a wave do just fine if you walk past one.
Take care to minimize your installation’s impact on trees.

This camera is mounted about 12 inches off the ground, to a deck support. Those willows and trees in the background funnel animals through this 10-yard wide section of the yard.
How To Install Game Cameras
Most include a cam strap made with plastic hardware. Yank on one of those and the buckle will snap, then fly into your eyeball at high speed. This seems to be a lesson I found hard to learn, but I now throw those things in the trash immediately, and grab a proper metal-buckle raft strap from my bucket of those instead.
Those are great for temporary locations and angles, while you’re learning animal movement patterns. For any camera that I’m going to leave mounted to a tree for more than a month or so, I prefer to screw lag bolts directly into the tree. I’ve found that straps “ring” a tree’s bark pretty quickly, but have noticed no ill effects from the lags.
For those permanent or semi-permanent locations, I also use CamLockBox security boxes, which accept the lag bolts, and prefer a simple combo padlock to a cable. With that setup—a CamLockBox screwed securely to a large tree and padlocked shut—I’ve only lost a single camera to a human prowler. Just take some care to dial in the location, angle, and orientation before committing to such an installation.
Oh, and I get the best results using Energizer Ultimate Lithium AAs, which I replace once yearly. Running all these cameras on those definitely gets pricey, but buying the nice batteries means I don’t need to worry about them dying in cold temperatures or prematurely.

The juvenile bulls in the foreground triggered this image. The cows further away would have passed by without being photographed. But this is all information I can use! Observing all the travel patterns I get on this camera indicates that pretty much all the animals crossing this shoulder are using a pinch point up the slope, to the left of the image. Moving the camera into that should net a lot more photos of a lot more animals.
Worth It?
I was hunting out on the Crow reservation in eastern Montana in September when I got an alert from one of the cameras about a bear in the yard at the cabin. My sister-in-law was there alone at the time, so I was able to call her and and let her know not to go outside for a bit. While that was happening, we got great images of a mama bear and two of her three cubs, and did that without disturbing them. That meant they kept returning for the rest of the month, and will likely do so again this year.
The family text thread filled up with fun reactions to the photos, and we all got to feel a connection to a place we love visiting, even though most of us weren’t there.
With more safety for both humans and animals, the ability to capture images of wildlife any time they pass, and much more knowledge about what type of animals are visiting, these cameras have been the most significant boost to our enjoyment of that property that I can remember.
Wes Siler is your guide to leading a more exciting life outdoors. You can read more about what he’s doing on Substack through this link.
For those that live in the burbs would either of these cameras be overkill for checking out suburban critters? Which means mostly birds.
Superb, timely topic imo, Wes.
I've actually owned a GC for about a year now but got stymied with the set up bc I'm poor with tech but your article will get me over the hump for sure. I'm eager to see coyotes, bobcats, maybe a bear, and of course loads of deer in my suburban CT backyard.